 |
 |
 |
 |
|||||||||||
Click on pics for a larger view |
||||||||||||||
 |
||||||||||||||
 |
||||||||||||||
 |
||||||||||||||
 |
||||||||||||||
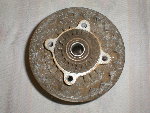
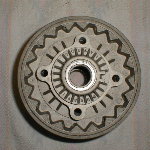
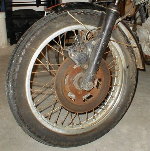
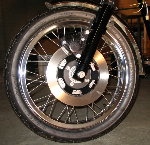
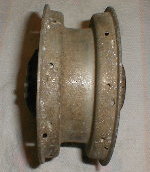
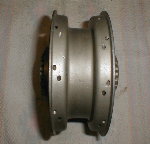
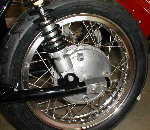
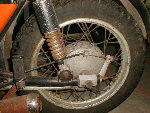
The steel rims on this bike were pretty grungy, and the rear rim had been replaced with one that didn't match the front. As the wheels are a huge part of the "look" of a bike, cleaning up the existing stuff just wouldn't do. I ordered new Excel alloy rims from Buchanan's Spoke and Rim, Inc., along with some stainless spokes. The rims are the stock sizes and shouldered so they resemble Borranis. These things aren't cheap, but they sure do look a lot nicer than the steel parts. (Unfortunately, Excel has since begun putting a red logo on them that I really don't care for) The front spokes were so corroded I simply cut them out. The rear spokes weren't nearly as bad so I did unscrew those. The front hub is made up of three pieces; once the disk carriers are popped out, removing the bearings is trivial. The rear hub is a different story. I have no idea how anyone could get a punch onto the bearing with that spacer in there... I tried. The spacer fit so tight that turning one bearing would make the other one turn also. There was no way I could get a punch to seat well enough to force the bearing out. I ended up having a thick washer welded to the inner race of the old bearing to give me something to push on. I wouldn't go so far as to recommend this, but I have no other advice on how to do it. Proceed at your own risk. The hubs were then bead blasted to remove the considerable corrosion. I thought this was all they'd need, but when I sat them down next to the new rims and spokes it became obvious I was wrong. The hubs still had a sort of greenish tint after blasting, so I took some alloy wheel cleaner to them, hit it lightly with a steel brush, rinsed and dried them off, repeating as needed until they looked presentable. I also polished the center section of the front hub with a little Simichrome. The hubs don't quite look new now, but they do look nicer than they did after being glass beaded and infinitely better than when they were corroded! I used the same cleaning method on the backing plate and the cush drive. The new rims were then laced to the old hubs. I'd never laced a wheel with straight spokes before, talk about simple! The rear was a little trickier; there are two different style spokes for the rear wheel. The spokes with the "longer" looking bend are fed from the inside of the flange. They go out from the hub and then come back towards the center of the rim, while the "shorter" bend spokes are fed from the outside of the flange and then continue towards the center of the rim. The orientation of the spokes once they were loaded onto the hub was easy to figure out from the marks left on the hub by the old spokes. I had been wondering what to use as a truing stand - I ended up putting the respective axle in a vice, sliding the wheel onto it, and using a dial indicator to guide me. I suppose I should add I was a bicycle mechanic for about ten years and have probably built a hundred and some wheels in my day. I couldn't even begin to guess how many I've trued up over the years, so I have a pretty decent background for this. Still, I think anyone with a little mechanical sense could get it right. At most you may want to leave the final truing to someone experienced if you're not too sure about how it's done. Tires I ended up getting a set of Avon Roadrunner tires for the bike, in part because they were the only brand I found that came in the sizes I wanted! I had heard of issues with wider tires rubbing on the front fender stays, so I wanted to go with a 90/90H19 up front. In back I went with a 110/90H18. For the riding I intend on doing, these tires should work just fine. I mounted them myself, using a couple of cheap tire irons covered with strips from the old tubes. The front one went on easier than expected. The rear proved to be more of a pain to get seated correctly. I think my biggest problem was the wimpy compressor I was trying to use, it only develops about 32psi and no matter what I tried, there was one section on one side of the tire that just wouldn't slip into place. After spending about three weeks telling myself I'd lug the thing into work with me and try it out with a more serious compressor, I finally broke down and went and bought a bigger one. Ironically, when I went to unload it from the back of my Jeep, my two-wheeled dolly had a flat tire! The wimpy compressor saved the day there, and once the new one was up and running, the tire snapped into place, no problem. |
||||