 |
 |
 |
 |
||||||||||||
 |
 |
 |
 |
|||||||||
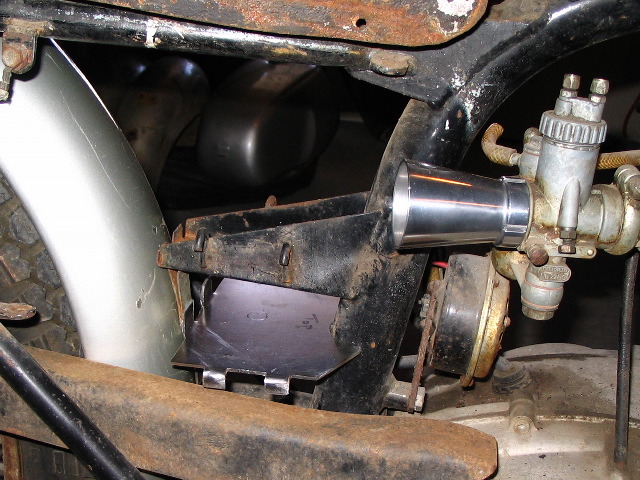
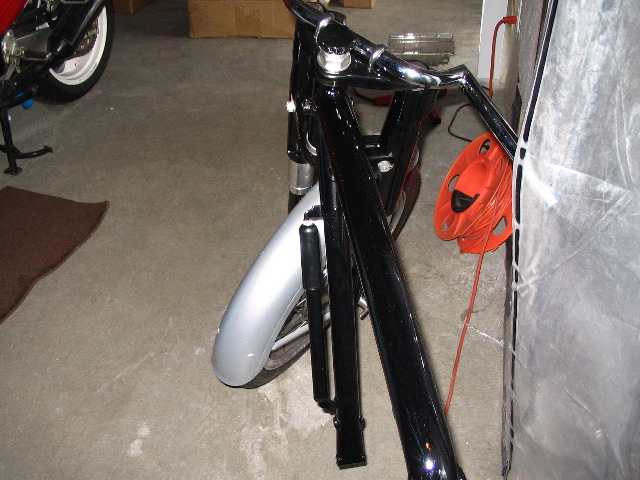
The frame required few mods to make everything work - mainly removing some stock mounting tabs and adding new ones for the new bodywork. Frame Modifications: Battery tray - Rounded fenders don't clear the later Monza Jr. battery tray, so I cut off the old one and added a cobbled up version of the tray used on the larger narrowcase bikes. You can find more details of this on the fenders page. I didn't put the ribs in the tray like the Ducati part has - I probably should have. I had issues with warping when I welded it on. Tool box mounts - The Sport style tool box replicas didn't have any provisions for mounting to the frame so I had to make my own. As shown in the upper left picture, I cut off the old toolbox mounts and welded on some new ones. Mounting bolts screw into wellnuts in the toolboxes. The upper right shows the finished product. Horrible picture, but you get the idea. This shot also shows the battery tray and the rearset lugs. Rear Sets - The stock mounts for the footpegs are bent. I'm not sure if this is common but it looks like a weak design? Moot point for me, I added a couple lugs on the frame to mimic the passenger peg mounts of the larger narrowcase bikes. This will make it easier to add rearsets. Centerstand bumper - There is a rubber bumper on the bottom of the frame for the centertand to seat against. This was torn up on my bike so I removed it. In it's place I put a Delrin bumper. It's harder than the rubber of course, but it's better than nothing and I had it sitting around! It also gave me an excuse to play with the lathe. I drilled out the center, used that hole as a guide to drill the frame, then tapped the frame, drilled a little more here and there to make a bolt fit, and there ya go. I could have simply dented the holder again to hold it in place I suppose, but where's the fun in that? Tire Pump - This isn't a frame modification since the tabs were there from the factory, but I didn't know where else to put a pic of the tire pump I got, so here it is. Original pumps off the singles are expensive these days and Ithe replicas I've sen aren't cheap either. I thought it'd be kind of neat to have one, but didn't want to spend the money. Back when I worked in a bicycle shop we sold similar pumps, so I started looking around. Once again, it was eBay to the rescue. I found a pump that was the style I wanted, but too long. Since it was only $7, I bought it anyway. All it took to make it work was to scrape the label off the body, take everything apart, shorten the body 4.5" (I cut off the top), shorten the inner rod 4.5", shave the threads off the top cap since the body is no longer threaded, re-install the lower "gasket" part, shove it all back togehter, and here's what you end up with . I have a couple more pictures on page 4 of the gallery. It's kind of silly, but I giggled when I first put it on the frame. I don't know why but I get a kick out of faking stuff like that. The $7 solution to a $200 problem... The best part is, the pump still works! |
||||||
|
|
||||||